Painting your own house can save you money, but only if it’s done properly. This guide explains all the steps needed when you’re considering how to paint your house yourself. Many people fall into the trap of thinking painting is an easy job and fail at the first hurdle. A lot of this can be avoided by ensuring you’re properly prepared for the job ahead.
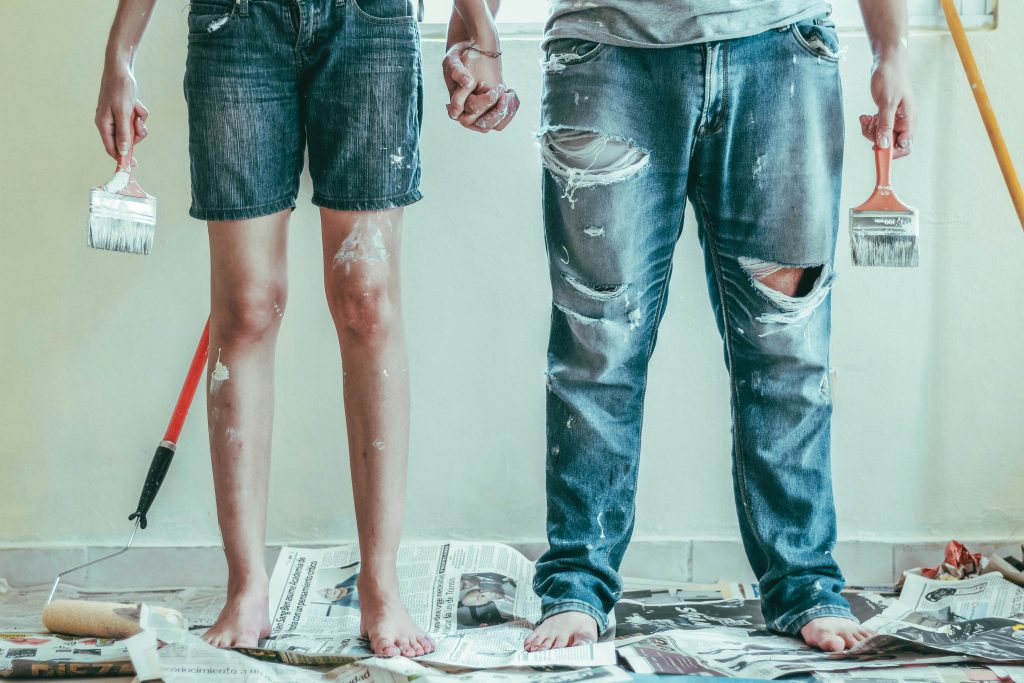
This guide walks you through all of the neccassary steps to paint your house yourself. So, you can decide in advancee whether you’re willing to take the task on or whether it makes more sense for you to bring in a professional.
Before you rush out to buy overalls and paint, let’s be realistic. Do you have plenty of spare time? If not, maybe think twice because painting an entire house can take many days – even a single room takes more than a day, so if you’re time-poor it probably won’t make sense for you to paint your own house.
However – DIY painting might suit you if you have plenty of time to spare and you’re comfortable with heights. Another important point to remember is that painting actually takes a fair bit of stamina so you’ll need to be reasonably fit too.
So looking at the realities of how to paint your house yourself isn’t that simple. There are a variety of factors to consider, such as the current condition of your house. If it’s in pretty good condition and not too rough, then the painting and preparation will be much easier. If it’s an older property with holes, chips, damp or mold then you should definitely have a professional to run an experienced eye over it.
Many homeowners begin painting their home before realising they’ve gotten themselves in too deep. The workload can be overwhelming once you begin and this is especially true for properties in coastal areas; many homeowners eventually decide to hire painters in Hallett Cove or painters in Aldinga Beach once they see how much work is involved.
Preparation begins long before any brushes touch the wall. You’ll have to ensure your surfaces are in tip-top and paint-ready condition before you touch them.
This involves a number of steps.
If you skip these steps then you will have paint splashes where they don’t belong and rough edges.
Paint doesn’t get along well with dirty walls. Grease and other substance will mean that paint can’t stick effectively and may bubble or peel.
Wash all surfaces to be painted with sugar soap. This will remove –
Make sure to allow time for walls to dry thoroughly before you begin painting and depending on the time of year and the weather, this may take a day.
All homes have them – we’re talking about little dents and holes, cracks or chips. If you just paint over these, the end result will look lumpy and unpleasant.
You’ll need to –
This is a time-consuming part of painting a house but it absolutely must be done if you’re serious about learning how to paint your house yourself. Ensuring your surfaces are smooth and even will really make all the difference when the job is finished.
Sanding isn’t a “Shall I?” job, it’s a “Must do” job. Sanding serves more than one purpose. It smooths any rough patches and takes of any old, peeling or flaking paint. It also de-glosses shiny surfaces so the new paint will adhere properly.
After sanding you must take care to remove all dust – and wear a mask throughout this process!
Primer is needed if your walls were patched, if you are painting over dark colours, if there is old staining present that you weren’t able to clean off and if the paint is a chalky or powdery consistency.
Primer adds another layer for the paint to adhere to and it ensures an even finish.
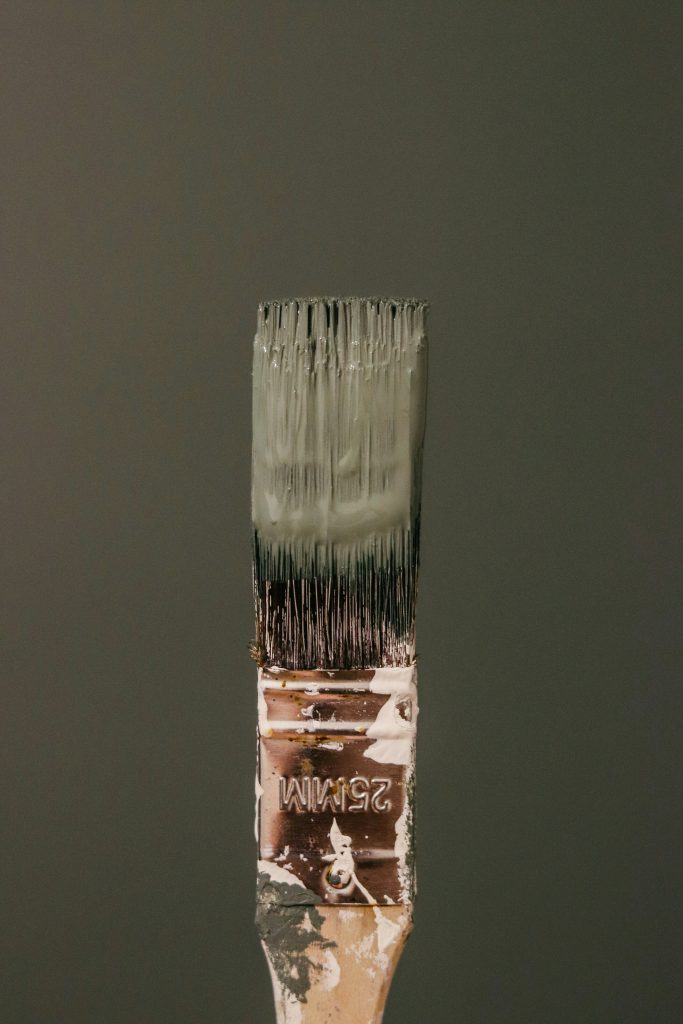
Not all paint is the same! You will need to consider the different paints available and which type is the best for each area.
Interior and interior paints aren’t the same for example. And then you can get washable paint for high traffic areas as well as moisture-resistant paint for bathrooms.
You will also need good quality rollers, brushes, extension poles, trays and ladders. If you buy cheaper tools, it will show in the final result and they’re harder to work with. Cheap brushes shed hairs and cheap rollers don’t leave a smooth finish.
Cutting-in is the process of painting edges where rollers won’t do a good job. You use a paintbrush to carefully cut in around corners, ceilings, skirting boards and doors/windows as well as switchplates.
Its tricky to do well and you need a steady hand as well as a lot of patience. Learning how to paint your house yourself involves many long-winded jobs that may test your patience!
Roll each room in sections and maintain a wet edge to avoid lap marks. Use consistent pressure, don’t be tempted to overload the roller and always apply two coats making sure to allow each coat to dry.
Don’t rush your rolling! Take time and care and the result should be beautiful.
Once you have completed a room, remove the masking tape, touch up any spots which look different to the rest of the painted area and clean your tools.
Inspect the work in a variety of lights to be sure that the finish is even.
Dispose of your unused paint responsibly. Schemes like Paintback are an excellent initiative and helps keep waste paint out of landfill, which of course, is better for the environment.
Many homeowners start off with good intentions but sometimes realise they’ve bitten off more than they can chew. This usually becomes apparent at the preparation stage.
This is often something that happens when homeowners are preparing to sell and want to save money. This is the worst time to make a mess of your walls though.
If you are short on time and money, we will help by offering limited services, such as painting only main rooms or entrances. You can opt for us to finish your partially completed work too.
In our opinion, you can’t get better than a full professional repaint but remember, flexible options are available.
If you’d like to discuss your options for painting in Hallett Cove or painting in Alidinga Beach, get in touch